
Pin each piece in the main fabric to a wadding piece ( wrong side to wading). and then tack either by hand or with a long machine stitch around the edge of each to secure wadding to fabric.

With right side facings put each of the main/wadding pieces and the lining pieces together, pin along the base (straight edge) and sew together (1.5cm seam allowance).

Open each piece out so the seam is facing towards the lining fabric.- use a warm iron carefully (do not use an iron directly on the wadding)

At this stage you can add a loop the top of the tea cosy- I've made a loop from the lining fabric but you can use a piece of ribbon- use a 10cm piece fold in half, place at the top of the curve in the centre with the raw edges towards the curve, as shown pin and tack in place.

Put the two halves of the cosies together, match the seams where the main and lining fabric meet carefully, pin remembering to leave a gap (about 10cm) in the seam in the lining to allow you to turn the tea cosy right side out. Sew round with a 1.5cm seam allowances- mind the gap!

Turn the tea cosy right side out and close the gap in the lining.


Stitch around the base just below where the main and lining fabric meet- this keeps the lining in place and strengthens the base.

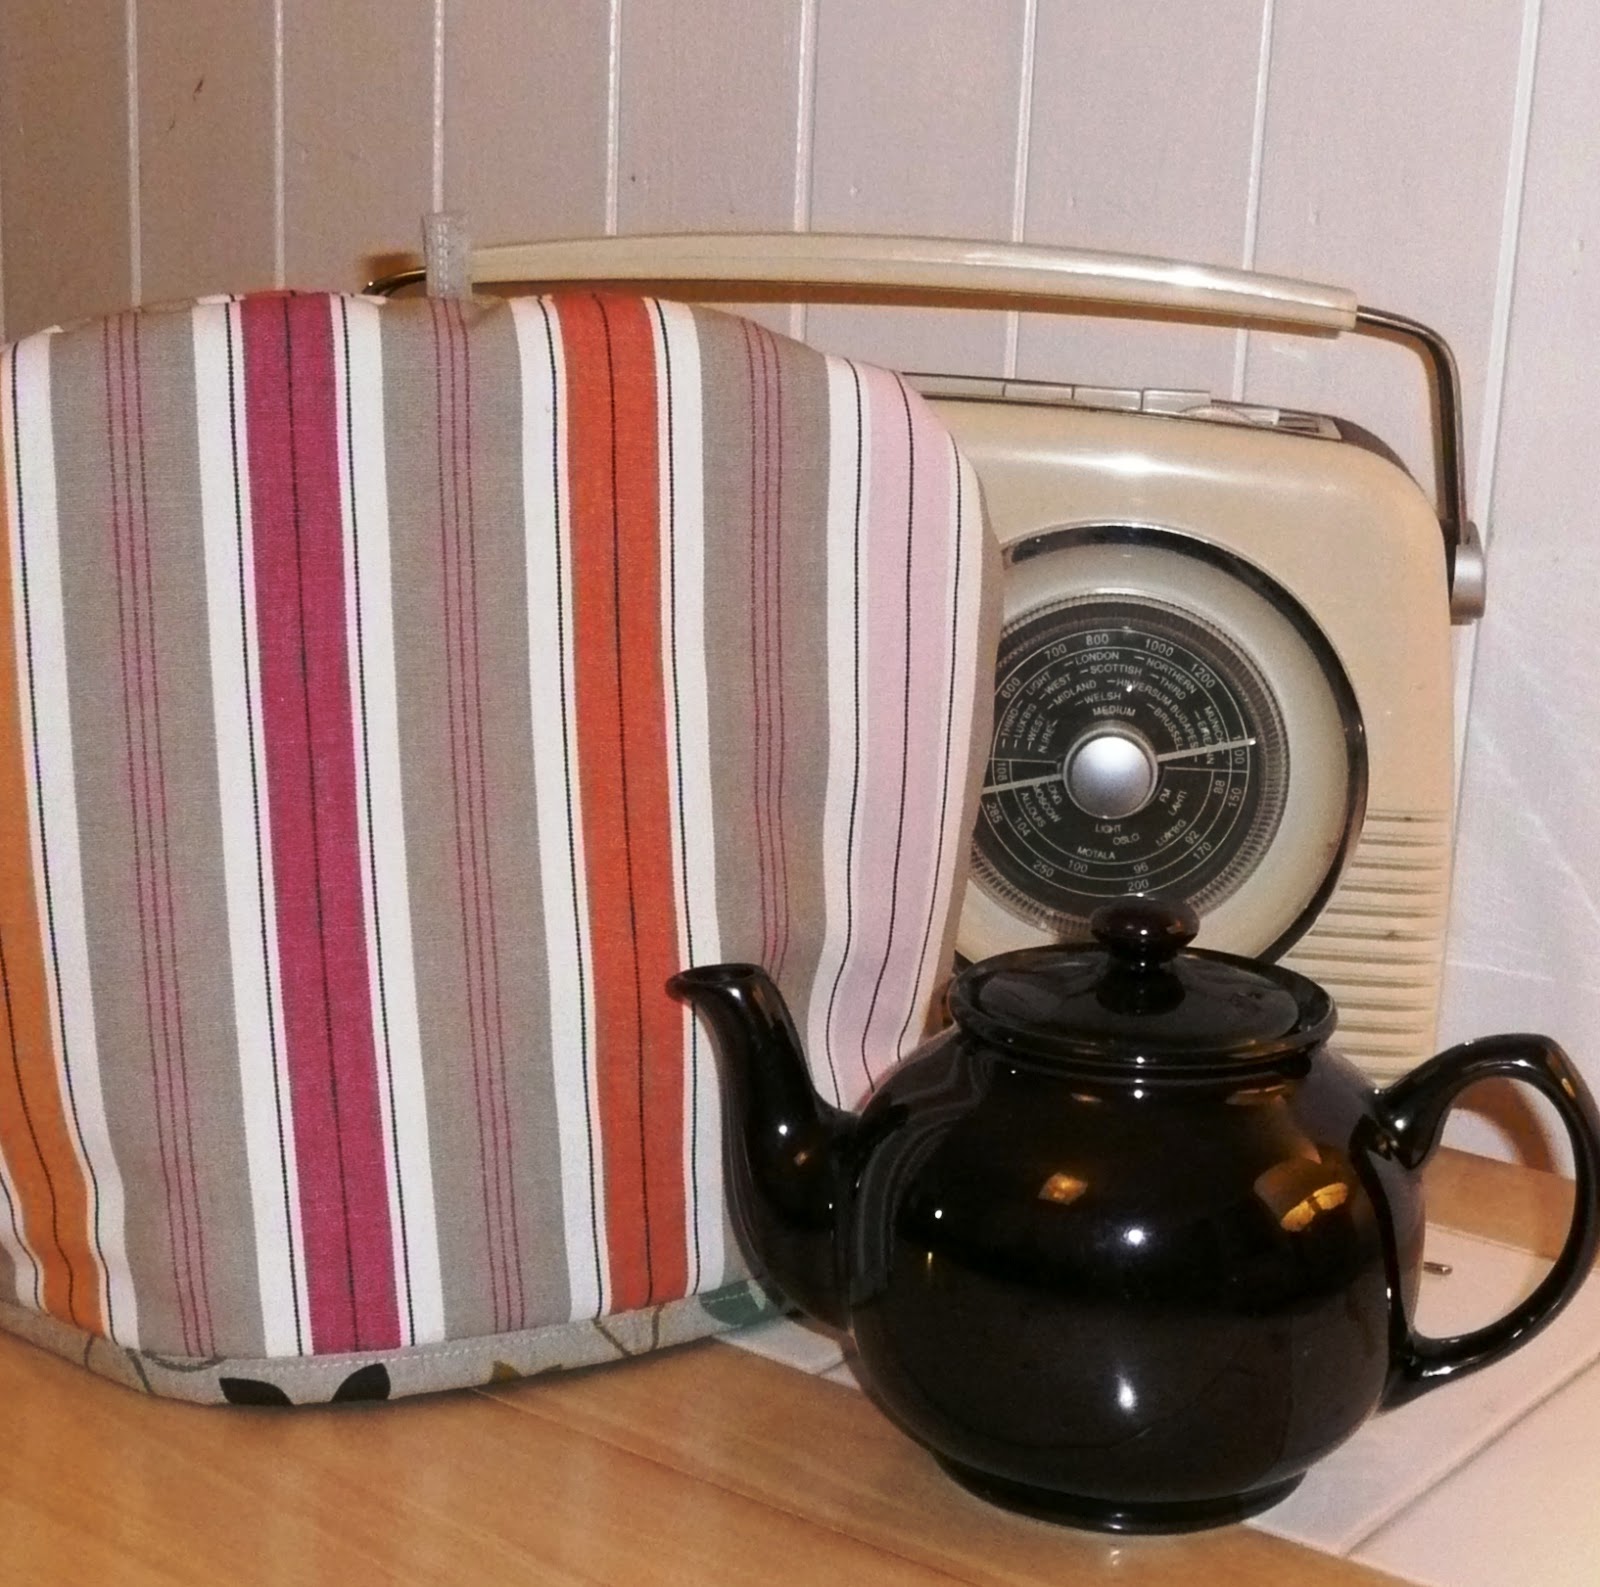

I'm off to make a brew!