Tuesday 24 July 2012

Accessorise with a yoyo- easy brooch make

I've just spent a lovely weekend in Sheffield taking part in the Folksy Fair. This was a wonderful craft and design fair organised by Folksy, the on line craft site (www.folksy.com ) and involvied individuals who sell on the site. The event was held in Endcliffe Park and was part of the Folk Forest music festival, so over the weekend there was a selection bands playing just adding to a really great atmosphere. There was a really good attendance and for a change this summer the weather played nicely giving us some brilliant sunshine ( and I have to admit I was even a little sun burnt by Sunday evening).


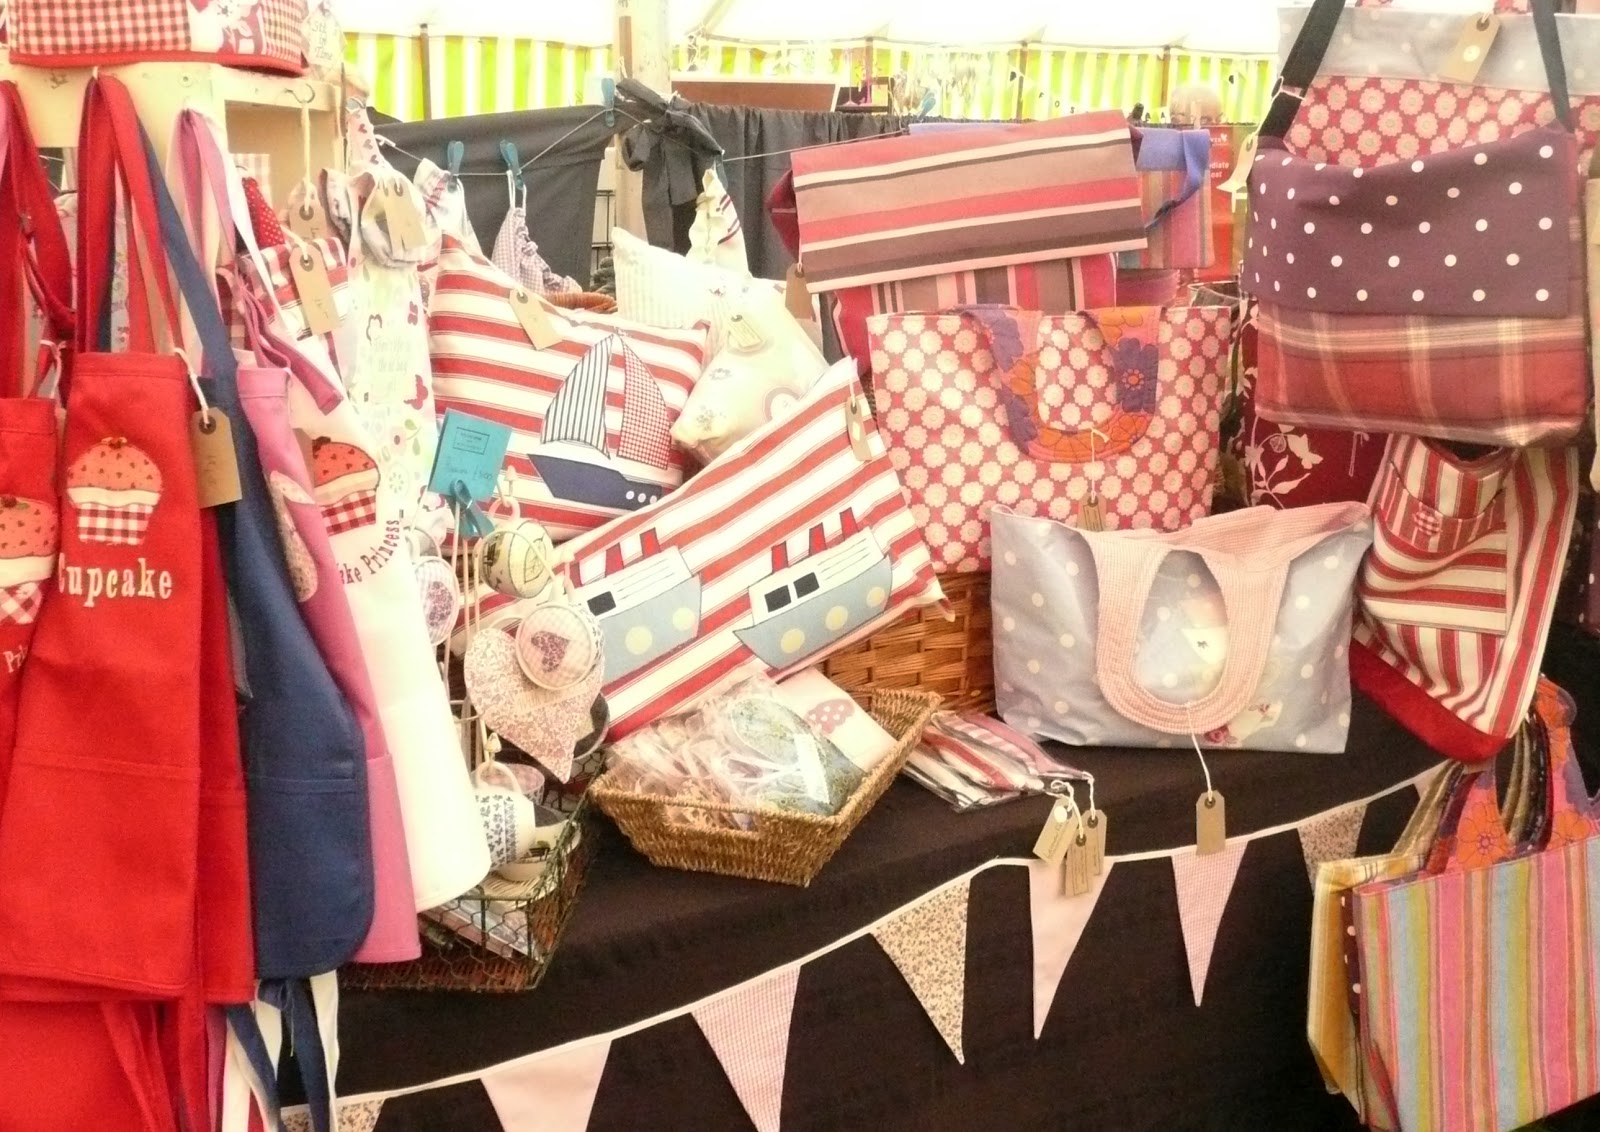
I was surrounded by some terrific designers and makers, and it was great to meet them after admiring their work on line. All in all a very good weekend.


When I wasn't talking to visitors and admiring other stalls I did a little making as I took some sewing with me. I think it looks good to be busy behind your stall. This is something I should add to my list of things to take to a fair -it nice at fairs to be demonstrate your crafting skills to visitors if you can. Unfortunately the sewing machine doesn't travel well so I usually take some hand sewing, something small that is is easy to put down and doesn't take too much concentration. This weekend I made some little fabric brooches while I was sitting behind the stall.

This is an incredibly simple idea and very easy to do, and like many things I mentioned previously easy to adapt and develop. The basis of the brooch is a 'yoyo' or I've also heard them called 'suffolk puffs', I think the names are quilting terms although I may be wrong.


The basis of the brooch is a circular disc of fabric, the size of the disc determines the size of your brooch.


 Sew a small running stitch around the edge of your disc about 0.5cm from the edge.  Running stitch is a very simple in and out straight stitch, make sure the end of your thread is well secured when you start sewing so when you have completed stitching round the edge of the disc and pull the thread the fabric gathers up.


This will bring the outside edge of the disc together, make sure the right side of the fabric is facing outwards, and manipulate the fabric disc so the gathered edge sits in the centre of the disc and secure and trim the thread.

Add a button and sew on centrally to hide the raw edge. Then you can just attach a brooch bar or a small safety pin to the back so you can wear your brooch.


So what about adapting the idea;

-you could sew a couple of yoyos in complimentary fabrics (one larger than the other) on top of one another to make a bigger brooch.


-the yoyo with the central button resembles a flower so you could make some green felt leaves and sew them to the back of the yoyo before adding your brooch bar.

-to accentuate the shape of your yoyo flower you could add a little stuffing, do this as you are drawing up the running stitch so you can secure the stuffing inside.

- you could sew several together so it appears to be several flower heads together, use a piece of heavier fabric or heavy interfacing to sew the yoyos to then sew your brooch bar to the back of this piece of fabric.

-rather than making a brooch sew several yoyos together and make up into a necklace.

This make is another way of using up scraps of fabric- the brooches (or if you developed the idea your yoyos may have multiplied to a full blown corsage) are great on jackets, cardis, hats and even bags. I've started adding these brooches to some my bags- making them up it the same fabric as the bag lining and using some big interesting buttons in the centre of the brooch. It is actually quite a nice way of showing off  vintage, antique, or just nice buttons.


Saturday 7 July 2012

Crafty Fairs


     I’m now becoming a bit of an old hand at craft fairs now that I’m into my third summer.  I wouldn’t call myself an expert but I have learnt a lot from experience and have to say I’m still learning.  I don’t think people often realise the preparation that goes into a fair, and I’ve found that really getting organised makes for a better fair.  I have a list of things I take, it’s fairly generic with a few things that I need specifically for my stall. 

      List of craft fair musts:-

·         Directions to the fair!! Remember your map or sat nav.-  don’t give yourself unnecessary  stress by getting lost on the way

·         Pens

·         Pad of Paper for notes

·         Labels

·         Scissors

·         Receipt book- some people do asks for receipts

·         Bags- the size and type obviously depends on what you’re selling

·         Business cards- I always have a few lying at the front of the stall.  People may not buy from you then, but give them the opportunity to come back to you particularly if you sell online. I always look at fairs as a marketing opportunity. I think it is really important to remember that customers put a lot of trust in you if you are making your own products and a fair is the chance to see the quality of your work and to see YOU (it’s important to remember you are an important part of your product- so it’s worth remembering to pack a smile on fair days)

·         Cellotape/ sticky tape

·         String

·         Safety pins

·         Table covering- some fair organisers insist you have something that covers the stall to the floor on three sides of the table just to hide the stuff you’ve hidden underneath it.  It does in fact make the stall look tidier and more professional.

·         Float- cash for change. I find the amount you need depends on the size of the event and it is always as well to be prepared- it is frustrating to lose a sale because you haven’t enough change.

·         Copy of your public liability insurance- the fair organiser may ask to see it.


If you’re at a fair in a tent, in a field, it is useful to have tarpaulin to put under the stall to protect your stock and your feet.  Another tarpaulin is useful to cover your stall if you leave it set up overnight, particularly if you’re in a tent- they are not always water tight and even if it doesn’t rain they can get damp overnight just with condensation or dew.


I always try to keep extra warm clothes, waterproofs and wellies in the car- I’ve just been reminded of this as I listen to the rain coming down in stair rods outside.


I find that the clear heavy duty plastic boxes or crates are the best things for transporting stock and storing it under the stall. They stack more easily, they are great for protecting your stock and the clear boxes make it is easier to see what’s in them when you’re looking for something.


Things to consider taking:-

·         Clothes pegs/ pins

·         Screwdriver- OK possible over the top but worth considering. I have a clothes stand that needs to be assembled for the stall so a screwdriver is quite important.

·         Chair- it’s worth checking whether or not a chair is provided. Possibly more important check that a table is provided. It may be that you are renting a space and the table is not provided or is provided at extra cost. A chair you can manage without but it’s more difficult to manage without a table. Most organiser usually do make it clear what you are getting when you book a stall.

·         Drawing Pins

·         Stapler

·         Blu- Tac


The list could be much longer I suppose and obviously you need to adapt it to your own needs and requirements- it would be interesting to know what must haves other folk have on their list.


I like to take a flask of coffee, some snacks and a packed lunch- this is not to say they are always eaten but it gives you options particularly if there is a lack of, or limited, onsite catering, and (here’s the miser in me speaking) it also means that you don’t go and spend your precious take on food. There is often enough temptation to spend your money at other crafters stalls.

Now off to get organised for another event...

Sunday 1 July 2012

Something Fishy to Make

There is a strong smell of lavender through the house at the moment as I've just spent the last few hours filling lavender bags. Yesterday I took delivery of a 3Kg box of the stuff ( which is quite a lot I now realise).
Filling lavender bags is always an enjoyable job, I love the stuff and make lots  (& lots & lots) of lavender bags in various shapes and sizes. The lavender fish are still very popular...


The fish are quite simple to make and they don't need to be filled with lavender. They could be filled with dried rose petals or just ordinary toy stuffing. They are great fun and look fab hanging up.

The pattern is quite easy to make- I find it is usually easier to start with a pattern although you could probably do this free hand straight to the fabric.


I mentioned lines of symmetry when I described making my pirate applique a few months ago. All you need to do is fold a piece of paper in half lengthwise (use the fold as your line of symmetry) then draw half a fish. You can put a few marks to guide your drawing -decide how long you want your fish to be,  length of the tail  and how fat you want your fish!

 Remember to include a seam allowance, I would suggest about 0.5cm, and also not to make the  gap at the point between the tail and body too narrow  as you need to be able to turn the fish right side out once you have sewn it together.


Cut out a front and back for your fish- place them right sides together and sew round with a seam allowance of about 0.5cm. Remember to leave a gap of about 3cm so you can turn the fish out.


Clip the corners at the nose and tips of the tail. Clip round the curves, this ensures that the fish retains its fishy shape when you turn it out- I go round with pinking shears. Take care that you don't accidentally clip the seam stitching!


Turn the fish out, carefully pushing out the corners- the blunt end of a crochet hook is quite useful for this job.

Add the string loop for hanging- easiest to do before stuffing the fish. This fish has been filled with polyester toy filling. Close the fish by hand stitching the gap used for stuffing the fish, ensure the raw edges are all tucked in.


This little fish has been embellished with button eyes (one on each side) and a simple quilting stitch on the tail.

The fish are more effective hanging up in groups...


For cat lovers out there, what about a treat for your cat? You can fill the fish with catnip and your cat will love you forever! Just a few words of caution, I would suggest using a strong tight weave cotton fabric for your fish, and to omit the button embellishment or any other embellishment that may accidentally end up inside kitty.